
Upgrading your home's exterior with LED outdoor lighting is one of the most effective ways to enhance both security and curb appeal. A modern LED wall pack provides powerful, energy-efficient illumination for driveways, backyards, and building perimeters. While the installation process is straightforward, it requires careful attention to safety and detail. This complete guide will walk you through every step, from choosing the right fixture to flipping the switch on your new, bright, and secure outdoor space.
Essential Safety and Tool Preparation
Safety is the absolute number one priority when working with any electrical wiring. Before you begin, you must be certain that you have completely cut power to the area you are working on. A mistake here can lead to serious injury.
Gather the following tools and safety equipment before you start:
- Safety Gear: Insulated gloves and safety glasses are essential.
- Voltage Tester: A non-contact voltage tester is the best way to confirm that the power is off.
- Tools: You will need a screwdriver (both Phillips and flathead), wire strippers, wire nuts, a ladder, and possibly a drill.
- Sealant: A tube of weatherproof silicone caulk is necessary for a weather-tight seal.

How to Choose the Right LED Wall Pack Light
Selecting the right fixture is crucial for a successful installation. Modern wall packs come with a variety of features, so consider your needs carefully.
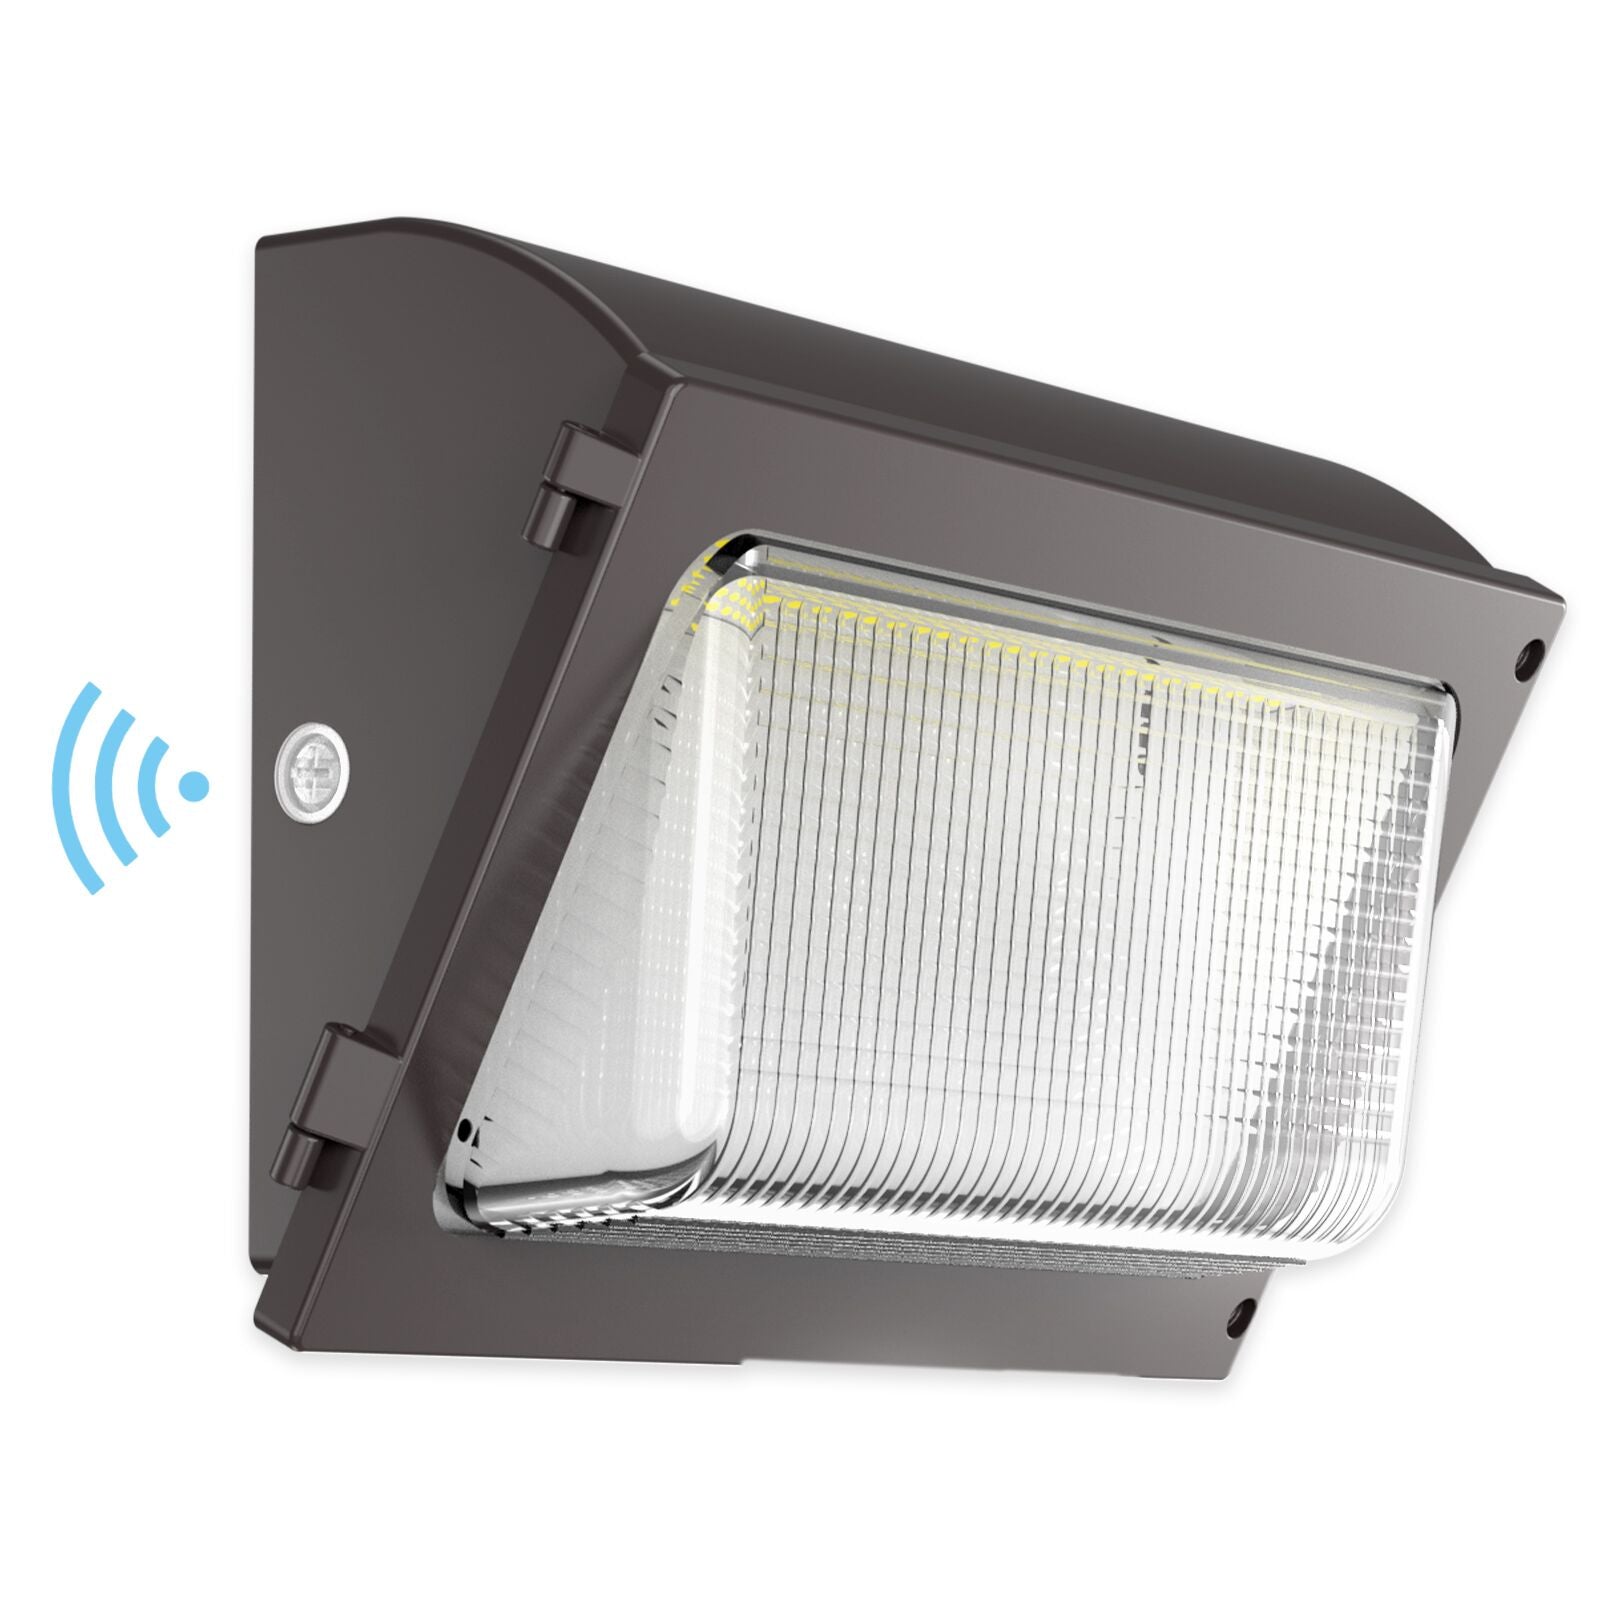
First, determine the required brightness, measured in lumens. For a small entryway, a few thousand lumens may suffice. For effective outdoor security lighting over a large driveway or commercial area, you'll need a much higher output. For truly powerful illumination, consider a high-output fixture like the Hyperlite Oval series Wall Pack Light, which delivers incredible brightness for large areas.
Pack de Apliques de Pared con Fotocélula - Serie Oval
Next, consider the features. Many fixtures come with a built-in photocell for dusk-to-dawn operation, which is a great energy-saving feature. Also, think about the design. While traditional wall packs are functional, many contemporary outdoor wall lights offer a sleek, modern aesthetic that can complement your home's architecture.

Luz LED de cuello de cisne para exteriores, iluminación ajustable, CA 120-277 V
How to Choose the Perfect Spot: Location and Placement Strategy
Where you place your outdoor wall light is just as important as the light itself. The goal is to create broad, even illumination while minimizing glare and dark spots.
For general area lighting, a mounting height of 12 to 18 feet is typically ideal. This height allows the light to spread over a wide area without being so high that its intensity is diminished. If you are installing multiple fixtures along a building, space them far enough apart to prevent harsh overlaps but close enough to ensure continuous coverage.
If your fixture has a dusk-to-dawn photocell, be sure to install it in a location where it won't be tricked by other light sources, such as porch lights or streetlights. The sensor needs to be exposed to the natural ambient light to function correctly. The style of your contemporary outdoor wall lights should also be considered, ensuring they align with the building's architectural lines for a professional look.

How to Install the LED Wall Pack Light in 4 Steps
With your tools gathered, your fixture chosen, and your location marked, you are ready to begin the installation.
Step 1: Turn Off Power and Remove Old Fixture
Go to your home's circuit breaker panel and shut off the power to the circuit you will be working on. Go back to the fixture location and use your non-contact voltage tester to confirm that the power is completely off. Once you are 100% certain there is no electricity, you can safely disconnect and remove the old light fixture.
Step 2: Mount the LED Wall Pack Bracket
Most new LED wall pack lights come with a mounting plate or bracket. This bracket is typically designed to be attached directly to a standard junction box in the wall. Secure the bracket firmly to the junction box using the provided screws. Ensure that the included gasket is properly placed to create a weather-tight seal against the wall.
Step 3: Connect the Electrical Wiring
Now it's time to connect the wires. You will typically see three wires from the wall: black (live), white (neutral), and a green or bare copper wire (ground). Your new fixture will have corresponding wires.
- Connect the black wire from the wall to the black wire of the fixture.
- Connect the white wire from the wall to the white wire of the fixture.
- Connect the green/copper ground wire from the wall to the yellow-green/copper wire of the fixture.
Secure each connection tightly with a wire nut. Gently tug on each wire to ensure it is secure.
Step 4: Secure and Test Your Installation
Carefully tuck the wires back into the junction box. Attach the main body of the wall pack to the mounting bracket, following the manufacturer's instructions. Once it is securely fastened, apply a bead of weatherproof silicone caulk around the top and sides of the fixture where it meets the wall. Leave the bottom unsealed to allow any moisture to escape. Now, you can go back to the breaker panel, turn the power on, and test your new light.

3 Common Installation Problems and How to Fix Them
Even with a careful installation, you may run into a few common issues.
Light Flickers or Buzzes
This is almost always caused by a loose wire connection or an incompatible dimmer switch. Turn off the power and double-check that all your wire nut connections are tight. If the circuit is on a dimmer, ensure it is a modern, LED-compatible dimmer.
Photocell Not Working Correctly
If your dusk-to-dawn light stays on during the day, the photocell is likely being obstructed or is in a heavily shaded area. If it cycles on and off at night, it is probably being triggered by reflected light from its own bulb or another nearby light source.
Light Won't Turn On at All
Start with the simplest solution: make sure the circuit breaker is fully on. If it is, turn the power off again and re-check all your wiring connections. If the connections are secure, there may be a fault with the fixture itself.
FAQs about LED Wall Pack Installation
Q1: How long do LED wall pack lights last?
One of the key benefits of LED is its durability. An LED that is of good quality will last for a period of 50,000 hours and above. Based on dusk-to-dawn operation, the LED will be free of maintenance for a period of over 10-15 years before it has to be replaced.
Q2: Are LED wall packs weatherproof?
Fixtures meant for outdoor installation are definitely water-resistant and designed accordingly. You should look for the IP rating of the product when checking the specifications. The standard IP rating for a good-quality outdoor wall light will be IP65, meaning that the product is dust-tight and protected against water jets and completely sealed.
Q3: Can I install LED wall pack lights myself?
As long as you know the basics of electrical wiring and take every precaution, the installation of a wall pack light is definitely a task you can attempt yourself. Nevertheless, if you ever find yourself questioning working with electricity, the answer is always to call a qualified electrician.
Q4: How do I clean LED wall pack lights?
Cleaning the light is very easy. At intervals, you might want to clean the lens and casing using a soft cloth and a soap and water solution. This will help remove any accumulated dust and ensure that the light shines at its brightest intensity.