

The Shadow Challenge: Rafters, HVAC, and Athletic Performance
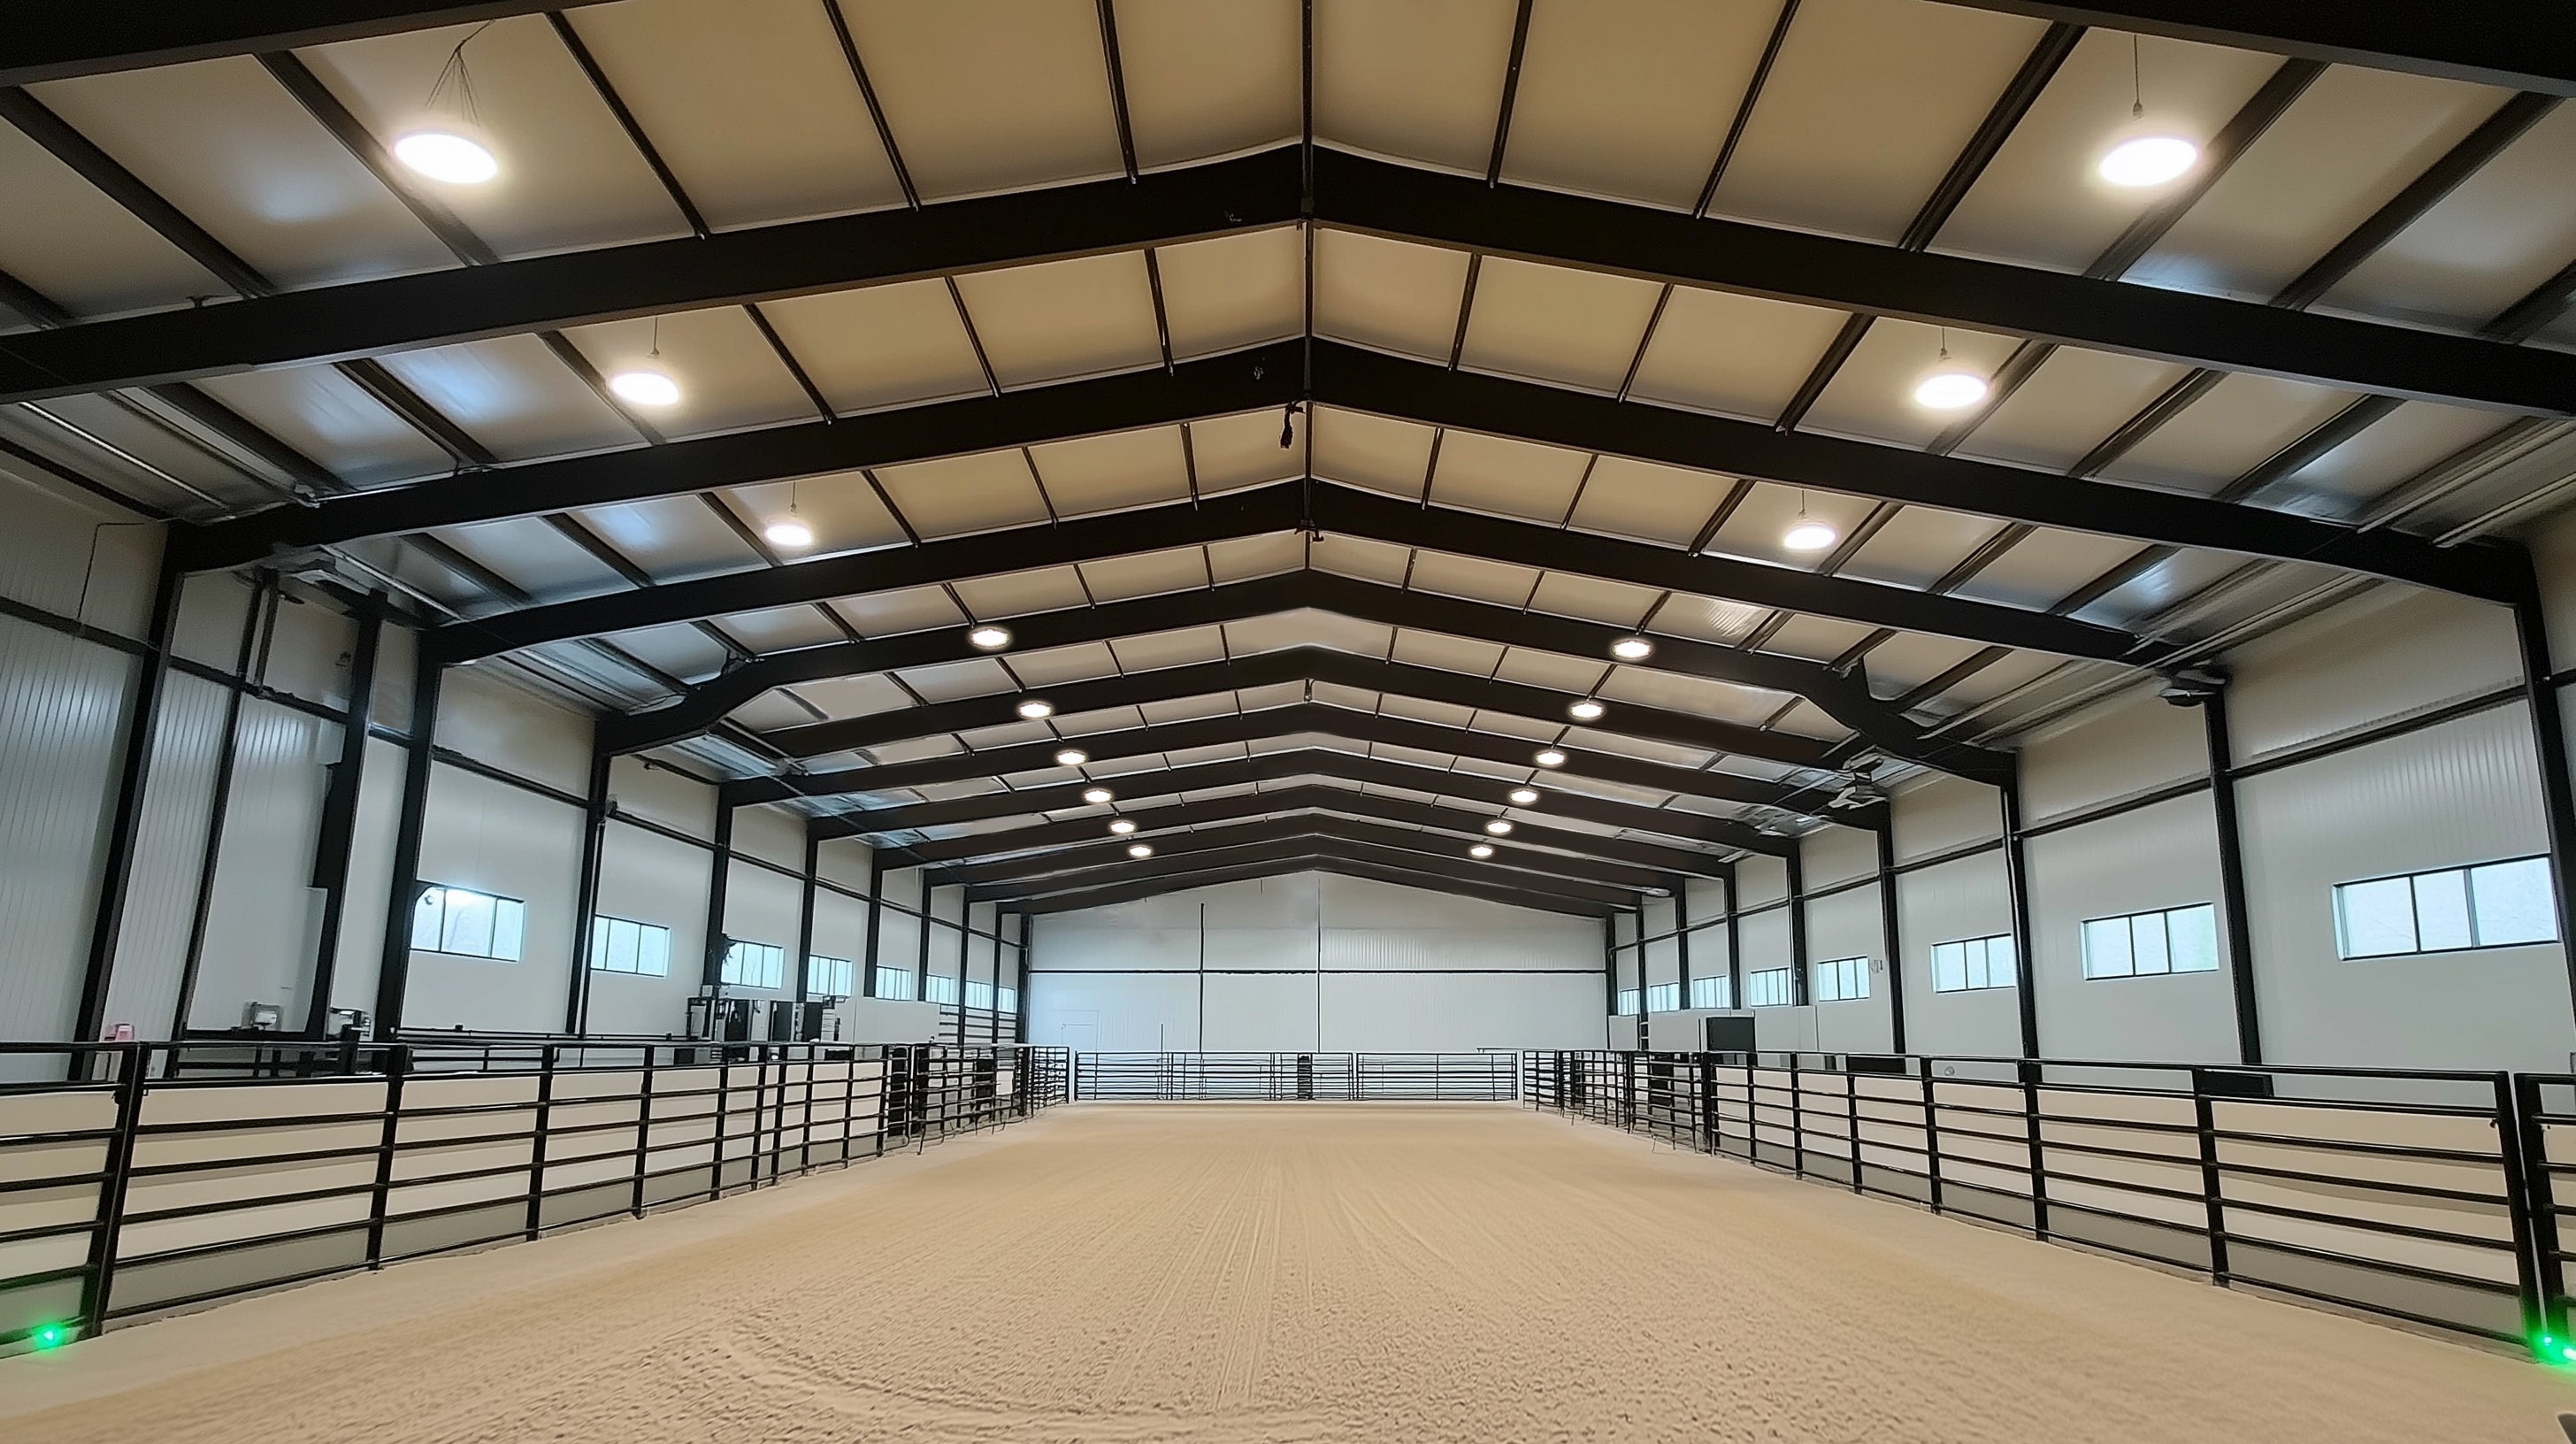
In professional sports arena lighting, the ceiling is rarely a clean slate. Facility managers and contractors often contend with a "ceiling forest" of structural steel rafters, massive HVAC ductwork, fire suppression piping, and scoreboard hoist systems. For lighting designers, these are not just structural elements; they are light-blocking obstacles that create harsh, defined shadows on the playing surface.
A single rafter shadow on a basketball court or volleyball floor is more than an aesthetic flaw. It is a safety hazard that obscures fast-moving objects and creates visual fatigue for athletes and spectators alike. To meet the rigorous standards of IES RP-7-21 (Lighting Industrial Facilities), designers must move beyond simple lumen-per-square-foot calculations and adopt a tactical approach to fixture placement and beam control.
This article provides a benchmark-level guide for overcoming rafter shadows in complex arena ceilings, grounded in photometric modeling and field-tested heuristics. We will examine how to transition from basic illumination to professional-grade sports lighting layouts that satisfy both the DesignLights Consortium (DLC) Qualified Products List (QPL) requirements and the visual needs of high-stakes athletics.
The Physics of the Shadow Cone: Heuristics for Obstruction
The most common mistake we observe in arena retrofits is mounting fixtures directly onto or too close to the bottom chord of a rafter. This creates a hard, defined shadow because the light source is physically blocked at the point of highest intensity. Based on common patterns from customer support and field audits, we recommend the "18-24 Inch Lateral Shift Rule."
By offsetting fixtures by at least 18 to 24 inches laterally from major obstructions, you allow the beam to "wrap" around the obstacle. Furthermore, running linear fixtures parallel to rafters—rather than perpendicular—minimizes the cross-sectional profile that can block light.
The Shadow Clearance Heuristic
For every foot of rafter depth (the vertical height of the beam), designers should plan for an additional 10 to 15 degrees of beam angle adjustment or a 2 to 3-foot lateral shift in fixture placement to clear the potential shadow cone.
Logic Summary: This heuristic is a practical baseline for quick selection and self-check during site walks. It assumes a standard mounting height of 25–35 feet. In irregular field conditions with diagonal HVAC runs, these shifts may need to be expanded.
Modeling vs. Reality: Photometric Simulation in Retrofits
While shop-level heuristics are valuable, large-scale arena projects require deterministic modeling. IES LM-63-19 Standard (Photometric File Format) files (commonly known as .ies files) allow designers to simulate how light interacts with structural obstructions in software like AGi32.
We modeled a typical 15,000-square-foot high school gymnasium with a 32-foot ceiling and significant rafter interference to determine the optimal fixture count and layout for NCAA-level uniformity.
Scenario Modeling: Smart Photometric Layout Estimator
| Parameter | Value | Unit | Rationale |
|---|---|---|---|
| Court Dimensions | 94 x 50 | ft | NCAA Regulation |
| Mounting Height | 32 | ft | Historic gym structure |
| Target Illuminance | 87.5 | fc | IES RP-6-15 Category F (Professional/TV) |
| Fixture Lumens | 36,000 | lm | High-output industrial engine |
| Beam Angle | 90 | deg | Narrow beam for rafter clearance |
Model Outputs:
- Total Lumens Required: ~832,321 lm
- Calculated Fixture Count: 24 units
- Uniformity Ratio Target: 2:1 (Max to Min)
Modeling Note: This analysis uses the Zonal Cavity Method for initial estimation. In practice, the "Uniformity Grid" often requires increasing the fixture count while decreasing the lumens per fixture to "fill in" the gaps caused by rafter shadows.

Tactical Fixture Placement: Beyond the Grid
In arenas with heavy HVAC ducting, a standard grid rarely works. We advocate for "asymmetric filling." If a large duct runs down the center of the court, the fixtures should be clustered in the rafter bays adjacent to the duct, aimed inward at a 10–15 degree angle.
Adjustable Mounting: The Micro-Aiming Factor
Theoretical angles rarely align perfectly with irregular field obstructions. We highly recommend specifying fixtures with adjustable mounting brackets (yoke or pendant) rather than fixed-hook mounts. This allows for final micro-aiming after installation.
According to the GSA – LED Lighting and Controls Guidance (2023), precise distribution and control are essential for high-ceiling applications where maintenance access is difficult. Micro-aiming can eliminate a "shadow hot spot" that 2D photometric plans might miss.
Compliance and Standards: Meeting IES and DLC 5.1
For B2B projects, compliance is the baseline for procurement. All fixtures must meet UL 1598 (Luminaires) for safety and DLC 5.1 Premium for energy efficiency performance.
The DLC 5.1 standard is particularly relevant for sports arenas because it mandates strict requirements for efficacy (lm/W) and dimming capabilities. Most modern utility rebates require DLC Premium status as a prerequisite for funding.
The Role of LM-79 and LM-80 Reports
* **LM-79:** This is the fixture's "performance report card." It verifies the total lumens, efficacy, and CCT consistent with [ANSI C78.377-2017](https://webstore.ansi.org/standards/nema/ansic783772017). * **LM-80:** This report tracks the lumen maintenance of the LED chips over time. For arenas where lights may run 12+ hours a day, [IES TM-21-21](https://store.ies.org/product/tm-21-21-projecting-long-term-luminous-photon-and-radiant-flux-maintenance-of-led-light-sources/) calculations (based on LM-80 data) provide the only verifiable proof of a 50,000 or 100,000-hour lifespan.Financial Analysis: TCO, ROI, and Interactive HVAC Effects
Upgrading an arena from legacy 400W metal halide (MH) lamps to high-performance LED high bays is one of the most effective capital improvements a facility can make. However, the ROI calculation must include the "Interactive HVAC Effect."
In a large, climate-controlled arena, lighting is a significant source of internal heat. When you reduce lighting wattage, you also reduce the load on the cooling system.
Total Cost of Ownership (TCO) Scenario
We modeled a retrofit of 40 metal halide fixtures to high-efficiency LED units in a Northeast US arena.
| Variable | Legacy (MH) | LED Retrofit |
|---|---|---|
| System Watts (per unit) | 458W | 180W |
| Annual Energy Cost | ~$8,793 | ~$3,456 |
| Maintenance (Bulbs/Labor) | $2,340 | $0 (5-year warranty) |
| Annual Savings (Energy + Maint) | -- | $7,677 |
The HVAC Bonus: In this model, the reduction in heat load resulted in an additional $251.63 in annual HVAC cooling savings, based on a standard Interactive Factor of 0.33 and a commercial cooling COP of 3.5.
Logic Summary: These savings are estimated based on a commercial electricity rate of $0.16/kWh and 3,000 annual operating hours. Individual results vary by climate zone and utility rate structures.

Advanced Control Strategies for Multi-Use Arenas
Modern arenas are rarely used for just one activity. A facility might host a high-intensity basketball game on Friday and a community meeting on Saturday.
ASHRAE Standard 90.1-2022 and California Title 24 now mandate advanced controls, including occupancy sensing and daylight harvesting, for most large-scale commercial lighting projects.
Occupancy Intelligence
In multi-purpose halls, occupancy sensors can reduce energy waste in unoccupied zones by 15–30%. According to the DOE FEMP Wireless Occupancy Sensor Guide, wireless sensors are particularly effective for high-ceiling retrofits because they eliminate the need for expensive control wiring through complex rafter spaces.
Summary Checklist for Arena Lighting Design
To ensure your arena lighting project overcomes structural shadows and meets professional standards, follow this technical checklist:
- Site Survey: Use a drone-mounted camera during dusk to identify existing shadow "hot spots" caused by HVAC and rafters.
- Lateral Offset: Apply the 18-24 inch shift rule to move fixtures away from the bottom chord of structural beams.
- Beam Selection: Utilize narrow beam optics (60°–90°) for mounting heights above 30 feet to "punch" through rafter gaps.
- Verification: Request full LM-79 and LM-80 reports to verify efficacy and long-term lumen maintenance.
- Rebate Optimization: Search the DSIRE Database for local utility incentives; ensure fixtures are DLC 5.1 Premium listed.
- Control Integration: Specify 0-10V dimming and sensor-ready drivers to comply with ASHRAE 90.1 and NEC (NFPA 70) requirements.
For a deeper dive into upcoming trends for 2026, including networked lighting controls and the evolution of DLC standards, refer to our authoritative industry white paper: 2026 Commercial & Industrial LED Lighting Outlook: The Guide to Project-Ready High Bays & Shop Lights.
Disclaimer: This article is for informational purposes only and does not constitute professional engineering or electrical advice. Always consult with a licensed electrical contractor and local building authorities to ensure compliance with the National Electrical Code (NEC) and regional safety standards.


